Who can resist a delicious bowl of coffee ice cream? It combines the rich flavors of coffee with the creamy texture of ice cream.
Coffee ice cream is a treat for coffee lovers and dessert enthusiasts alike. It’s the perfect way to enjoy the bold taste of coffee in a refreshing form. Whether you crave it on a hot summer day or as a sweet ending to a meal, this recipe will satisfy your taste buds.
Making coffee ice cream at home is simpler than you might think. With a few ingredients and some basic steps, you can create a delightful dessert. Ready to indulge in this creamy coffee goodness? Let’s dive into the details of this irresistible coffee ice cream recipe!
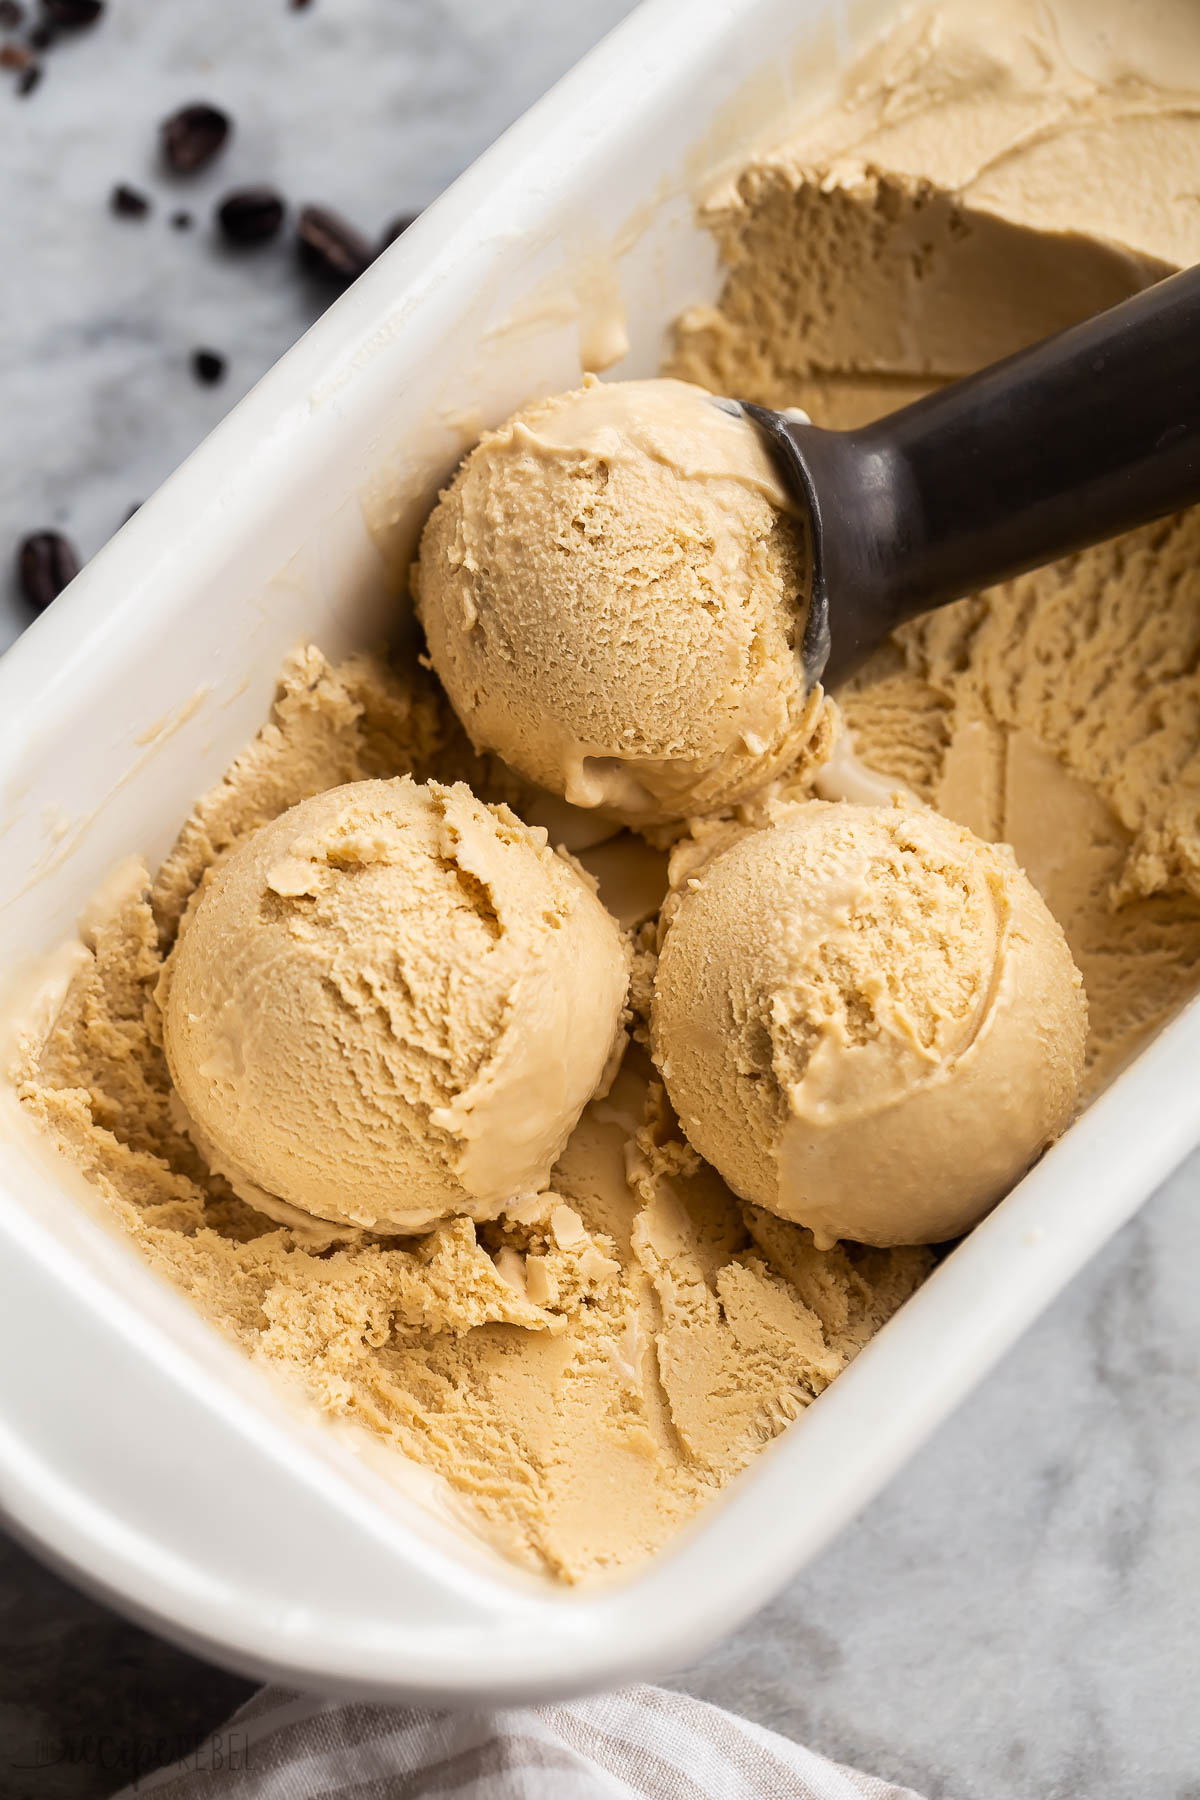
Credit: www.thereciperebel.com
Ingredients
Creating delicious coffee ice cream at home starts with choosing the right ingredients. The quality of each component impacts the final product’s taste and texture. Here’s a breakdown of what you need.
Essential Components
| Ingredient | Quantity | Description |
|---|---|---|
| Heavy Cream | 2 cups | Provides a rich, creamy base. |
| Whole Milk | 1 cup | Balances the cream, making it lighter. |
| Sugar | 3/4 cup | Adds sweetness to the ice cream. |
| Instant Coffee Granules | 2 tablespoons | Gives the ice cream its coffee flavor. |
| Vanilla Extract | 1 teaspoon | Enhances the overall flavor. |
Optional Add-ins
To make your coffee ice cream more interesting, consider adding some optional ingredients:
- Chocolate Chips: Add 1/2 cup for a delightful crunch.
- Caramel Swirl: Mix in 1/4 cup for a sweet, gooey texture.
- Crushed Nuts: Use 1/2 cup for added crunch and flavor.
These add-ins can turn your simple coffee ice cream into a gourmet treat. Customize it to your liking!
Preparation Steps
Making coffee ice cream at home is a fun and rewarding process. Follow these preparation steps to create a delicious treat. This guide will help you brew the coffee and mix the base for your homemade ice cream.
Brewing The Coffee
The first step is to brew a strong coffee. A rich and bold coffee will give your ice cream a deep flavor.
- Start with fresh coffee beans.
- Grind the beans to a medium-fine consistency.
- Use a French press or a drip coffee maker.
- Brew 1 cup of coffee and let it cool.
Tip: Cold brew coffee works well too. It has a smooth and less acidic taste.
Mixing The Base
Next, mix the base ingredients. This will give your ice cream a creamy texture.
- In a bowl, whisk together 1 cup of heavy cream and 1 cup of whole milk.
- Add 3/4 cup of granulated sugar and whisk until dissolved.
- Pour the cooled coffee into the mixture.
- Add 1 teaspoon of vanilla extract for extra flavor.
Tip: For a richer taste, you can add a pinch of salt.
Now your base is ready. Chill the mixture in the refrigerator for at least 2 hours before churning.
Churning Process
The churning process is essential for making smooth and creamy coffee ice cream. It incorporates air into the mixture, preventing ice crystals from forming. Whether using an ice cream maker or churning manually, this step is crucial for texture.
Using An Ice Cream Maker
An ice cream maker simplifies the churning process. Start by pouring the coffee ice cream mixture into the pre-chilled bowl. Turn on the machine and let it churn for about 20-30 minutes. The mixture will thicken and become creamy. Once done, transfer it to a container and freeze for a few hours. This ensures the perfect consistency.
Manual Churning Tips
No ice cream maker? No problem. Pour the coffee ice cream mixture into a shallow, freezer-safe container. Place it in the freezer for about 45 minutes. Check the mixture and stir it vigorously. Use a whisk or a spatula to break up any ice crystals.
Repeat this process every 30 minutes for about 2-3 hours. The mixture should become thicker with each stir. Once it reaches a creamy texture, let it freeze completely. Manual churning requires patience but delivers great results.

Credit: joyfoodsunshine.com
Freezing Techniques
Creating the perfect coffee ice cream involves more than just the right ingredients. The freezing process can make or break your dessert. Below, explore the best techniques to ensure your coffee ice cream is creamy and delicious.
Optimal Freezing Time
Understanding the optimal freezing time is key to achieving smooth and creamy ice cream. Here’s a simple guide:
- Initially, freeze the mixture for at least 4 hours.
- Stir every 30 minutes for the first 2 hours.
- For best results, let the ice cream set overnight.
This process helps in breaking up ice crystals, ensuring a smooth texture.
Storage Tips
Proper storage is essential to maintain your ice cream’s quality. Follow these tips:
- Store ice cream in an airtight container.
- Place a piece of plastic wrap directly on the surface.
- Keep it in the coldest part of your freezer.
These steps prevent freezer burn and ice crystal formation.
Remember, the goal is to create a delightful and creamy coffee ice cream. Follow these freezing techniques for the best results.
Serving Suggestions
Coffee ice cream is a delightful treat that can be enjoyed in various ways. Serving suggestions can enhance the experience, making it even more enjoyable. From pairing ideas to garnishing tips, there are many ways to elevate your coffee ice cream. Let’s explore some creative serving suggestions.
Pairing Ideas
Pairing coffee ice cream with other foods can create a delightful combination. Here are some pairing ideas:
- Chocolate Brownies: The rich flavor of chocolate brownies complements the bold taste of coffee ice cream.
- Fresh Berries: Strawberries, raspberries, and blueberries add a refreshing contrast.
- Almond Biscotti: The crunchy texture of almond biscotti pairs well with the creamy ice cream.
- Caramel Sauce: A drizzle of caramel sauce enhances the sweetness and adds a touch of elegance.
Garnishing Tips
Garnishing coffee ice cream can make it look appealing and taste even better. Try these garnishing tips:
- Whipped Cream: Add a dollop of whipped cream for a classic touch.
- Chocolate Shavings: Sprinkle chocolate shavings for a rich and decorative finish.
- Coffee Beans: Place a few coffee beans on top for an aromatic garnish.
- Mint Leaves: Fresh mint leaves add a pop of color and a refreshing flavor.
These serving suggestions will make your coffee ice cream experience unforgettable. Experiment with different combinations and enjoy the delicious results!

Credit: www.hotelmariahilf.at
Variations
There are countless ways to enjoy coffee ice cream. Whether you prefer a dairy-free option, or need to avoid caffeine, there is a recipe for you. Below, we explore two popular variations that cater to different dietary needs and preferences.
Vegan Coffee Ice Cream
For those who follow a vegan diet, this version is a delightful treat. It uses coconut milk instead of dairy. Here’s a simple recipe:
- Ingredients:
- 2 cans of full-fat coconut milk
- 1 cup of strong brewed coffee, cooled
- 3/4 cup of sugar
- 1 tablespoon of vanilla extract
- Instructions:
- Whisk all ingredients in a bowl until sugar dissolves.
- Pour mixture into an ice cream maker.
- Churn according to the manufacturer’s instructions.
- Transfer to a container and freeze for at least 4 hours.
Decaf Version
If you love coffee flavor but avoid caffeine, the decaf version is perfect. It provides the same rich taste with no caffeine kick. Here’s how to make it:
- Ingredients:
- 2 cups of heavy cream
- 1 cup of whole milk
- 1 cup of decaf coffee, brewed and cooled
- 3/4 cup of sugar
- 1 tablespoon of vanilla extract
- Instructions:
- Mix heavy cream, milk, and decaf coffee in a bowl.
- Add sugar and vanilla extract.
- Stir until sugar dissolves completely.
- Pour mixture into an ice cream maker.
- Churn according to the manufacturer’s instructions.
- Transfer to a container and freeze for at least 4 hours.
Troubleshooting
Making coffee ice cream at home can be a fun and rewarding task. Sometimes, things don’t go as planned. You might face a few common issues that can affect the outcome. Here, we will discuss some of those issues and how to fix them. Keep reading to find out more!
Common Issues
The texture of your ice cream might be too hard. This can happen if the mixture is not churned enough. Another issue is ice crystals forming in the ice cream. This can make the ice cream gritty. Taste problems can also occur. The flavor might be too weak or too strong.
Fixes And Adjustments
If your ice cream is too hard, try churning it for longer. You can also let it sit at room temperature for a few minutes before serving. To avoid ice crystals, make sure the mixture is thoroughly chilled before churning. Adding a bit of alcohol, like coffee liqueur, can help too.
If the flavor is too weak, add more coffee extract or instant coffee. For a flavor that is too strong, add more cream or milk to balance it out. Always taste the mixture before freezing. Adjust the sugar and coffee levels to your preference.
Frequently Asked Questions
What Ingredients Are Needed For Coffee Ice Cream?
To make coffee ice cream, you will need heavy cream, whole milk, sugar, coffee, egg yolks, and vanilla extract.
How Do You Make Coffee Ice Cream?
First, heat milk and coffee. Then mix with egg yolks and sugar. Finally, churn the mixture in an ice cream maker.
Can I Use Instant Coffee For Ice Cream?
Yes, you can use instant coffee. Dissolve it in hot water before adding it to the mixture.
Is Coffee Ice Cream Caffeinated?
Yes, coffee ice cream contains caffeine. The amount depends on the type and quantity of coffee used.
Conclusion
Creating coffee ice cream at home is both fun and rewarding. The rich, creamy taste will impress everyone. Follow the steps carefully for the best results. Enjoy this delightful treat on hot days. It’s perfect for coffee lovers and dessert fans alike.
Experiment with toppings to add extra flair. Share this recipe with friends and family. They will thank you for it. Now, grab your ingredients and start making this delicious ice cream. Happy cooking!

