Creating a coffee filter butterfly is a fun and easy craft. It’s perfect for kids and adults alike.
With just a few supplies, you can make beautiful butterflies to decorate your home or classroom. Coffee filter butterflies are simple yet charming crafts. They require minimal materials, which you likely already have at home. This project is great for rainy days, school activities, or just a fun afternoon with the kids.
The process involves coloring, folding, and shaping the coffee filters into delicate butterfly wings. Not only is it a creative activity, but it also encourages fine motor skills and artistic expression. Whether you’re a parent, teacher, or DIY enthusiast, making coffee filter butterflies can provide hours of enjoyment and creativity. Let’s dive into the steps to create your own beautiful butterflies!
Materials Needed
Creating a Coffee Filter Butterfly is a fun and easy craft project. You only need a few simple materials. Below, we list all the essential items you’ll need to start crafting your beautiful butterflies.
Coffee Filters
You’ll need round coffee filters. These will form the wings of your butterfly. Ensure they are plain white. This allows you to add any colors you like.
Washable Markers
Use washable markers to color the coffee filters. These markers are easy to blend and create beautiful patterns. Choose a variety of colors to make your butterfly vibrant.
Pipe Cleaners
Pipe cleaners are used to create the butterfly’s body and antennae. Select colorful pipe cleaners to match or contrast with your filter wings.
Spray Bottle
A small spray bottle filled with water helps to blend the marker colors on the coffee filter. Lightly misting the filter will spread the ink beautifully.
Paper Towels
Have some paper towels on hand. These are useful for blotting excess water and ink from the coffee filters. They also keep your workspace clean.
| Material | Description |
|---|---|
| Coffee Filters | Round, white coffee filters to form the wings. |
| Washable Markers | Colorful markers to decorate the filters. |
| Pipe Cleaners | Used to create the butterfly’s body and antennae. |
| Spray Bottle | For misting water to blend colors on the filters. |
| Paper Towels | For blotting excess water and keeping the area clean. |
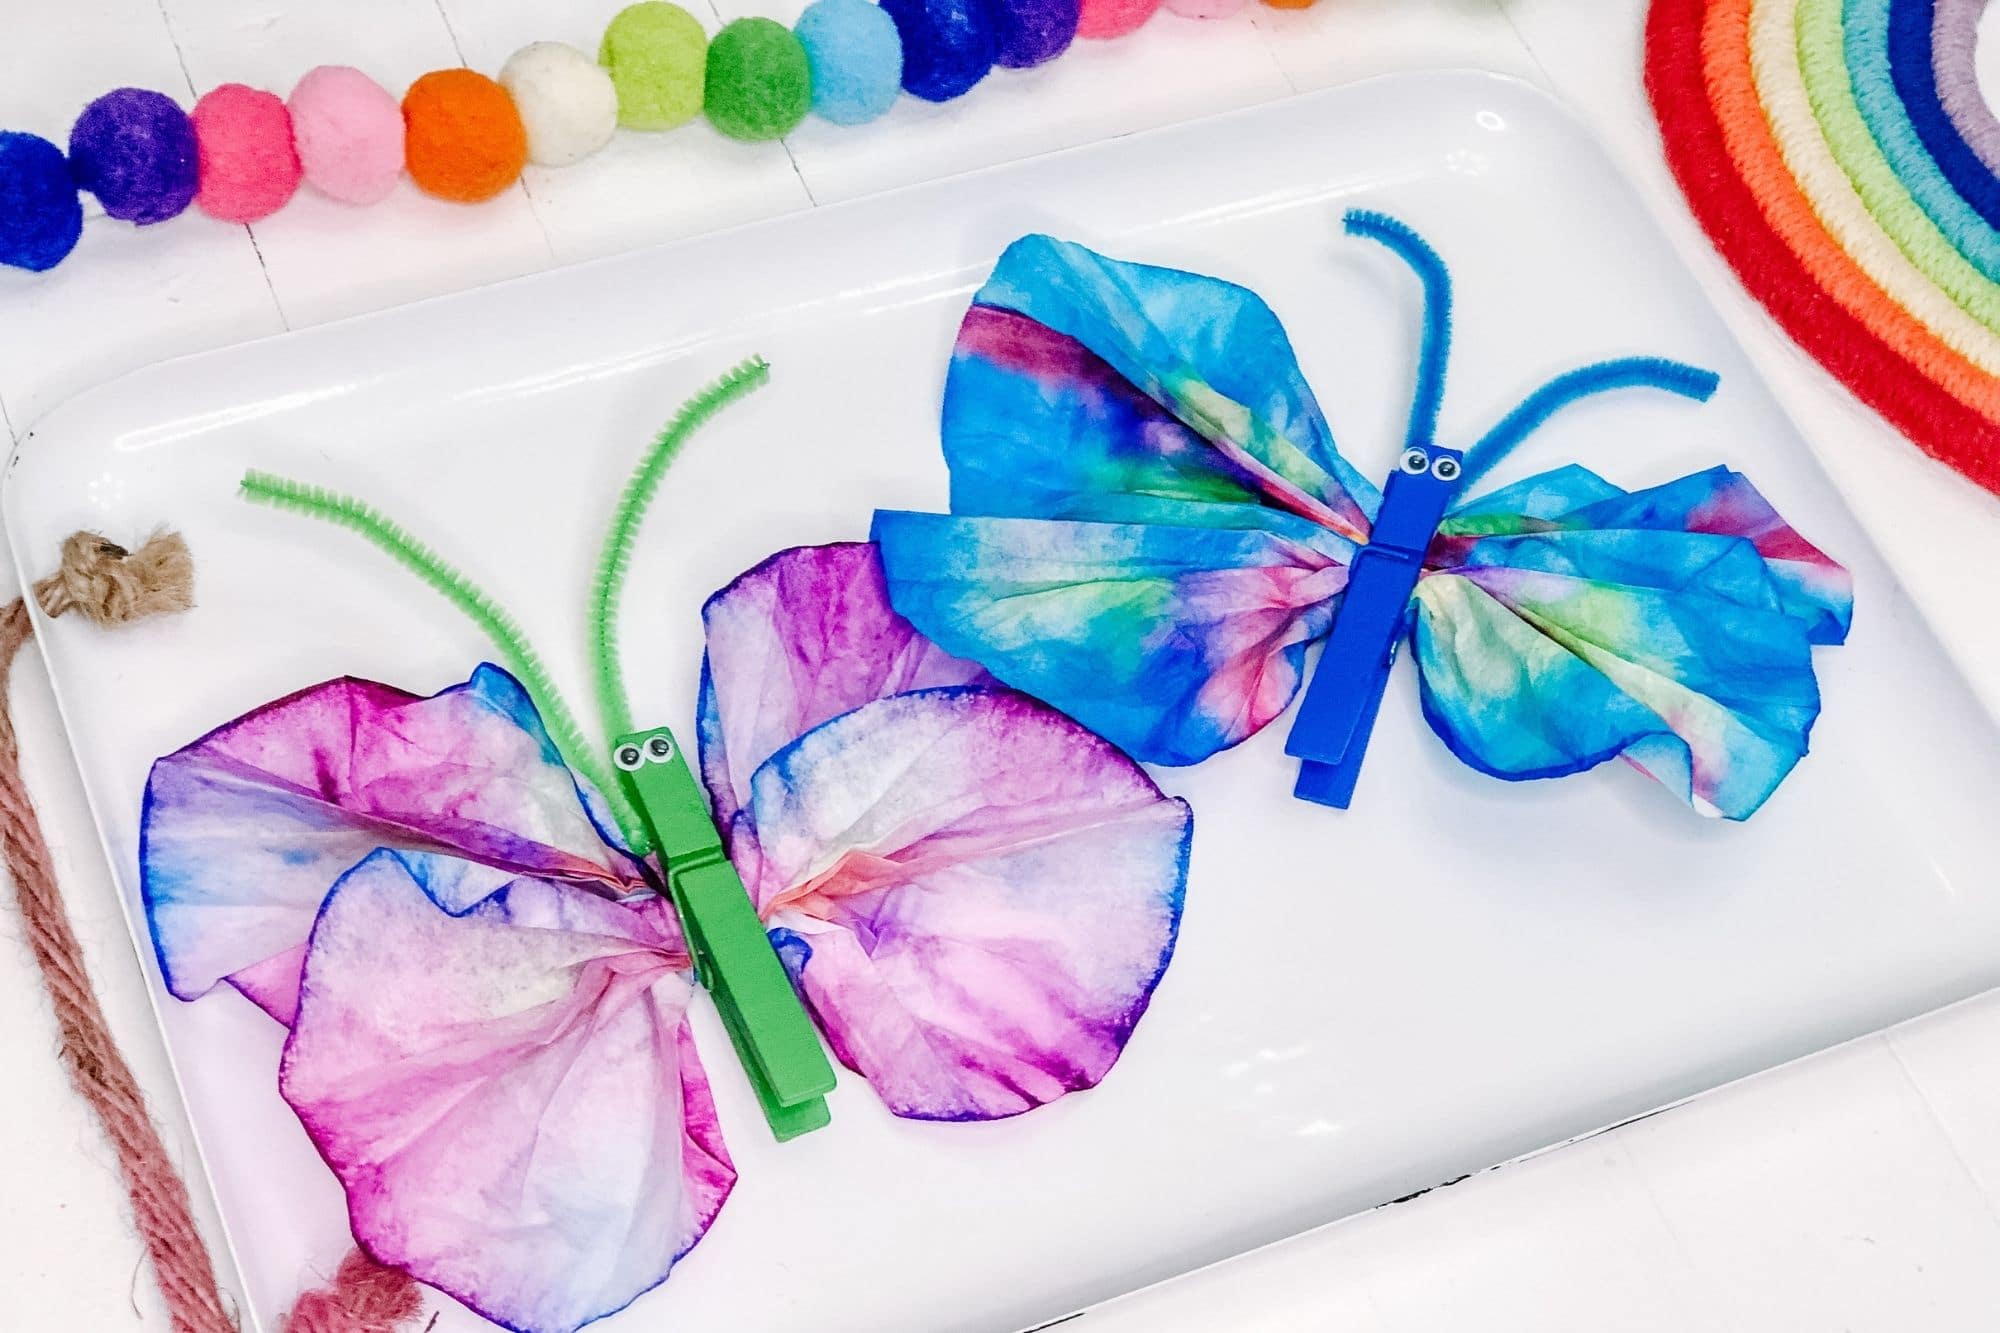
Credit: beyondtheplayroom.com
Preparing The Work Area
Creating a Coffee Filter Butterfly can be a fun and creative activity. To ensure a smooth process, preparing the work area is crucial. A well-organized space helps keep the project enjoyable and stress-free.
Protective Covering
Start by covering your work area with a protective layer. This can be an old newspaper, a plastic tablecloth, or a large piece of paper. The protective covering will catch any spills or mess. It also makes cleaning up easier once the project is complete.
Organizing Supplies
Next, gather all the necessary supplies. Make sure everything is within reach. You will need coffee filters, markers, a spray bottle with water, and pipe cleaners. Scissors and glue may also be needed. Arrange these items neatly on your work surface.
Having an organized workspace helps you focus on the craft. It also reduces the chances of losing small items. A tidy area makes the process more enjoyable and efficient.
Coloring The Coffee Filters
Creating a coffee filter butterfly is a fun and easy craft. The most exciting part is coloring the coffee filters. This process lets you express your creativity. With a few simple steps, you can make vibrant and beautiful butterflies. Let’s dive into the details of coloring these filters.
Choosing Colors
The first step is selecting your colors. Think about the butterfly you want to create. Bright colors like red, blue, and yellow are great choices. Pastel shades can also be lovely. Mix and match as you like. The more varied your colors, the more unique your butterfly will be.
Applying Markers
Once you’ve chosen your colors, it’s time to apply them. Use washable markers for this part. They are easy to blend and spread. Draw patterns or random designs on the coffee filter. Don’t worry about being perfect. The fun part is in the randomness.
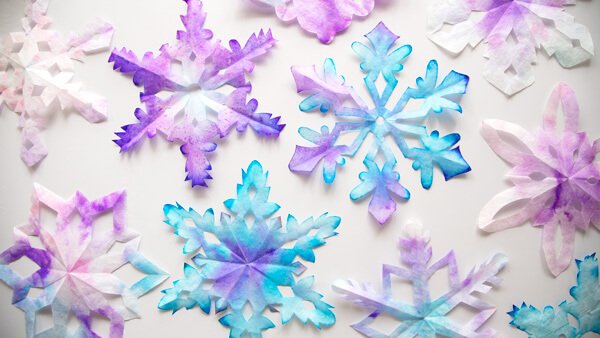
After coloring, spray the filter lightly with water. The colors will spread and blend beautifully. Watch the magic happen as the patterns transform. Let the filter dry completely. Now, your coffee filter is ready to become a butterfly.
Creating The Butterfly Wings
Creating the butterfly wings is an exciting part of this craft. You will see the transformation from simple coffee filters to beautiful butterfly wings. This process is easy and enjoyable. Kids and adults alike will love it.
Spraying With Water
Start by flattening out the coffee filters. Place them on a protected surface. Next, use watercolors or markers to color the filters. Bright colors work best. After coloring, lightly spray the filters with water. This causes the colors to blend and spread. The result is a beautiful, tie-dye effect.
Drying Process
After spraying with water, it’s time to let the filters dry. Place them in a sunny spot or use a hairdryer. Ensure they are completely dry before moving on. This might take a few hours. Once dry, you will see vibrant, colorful patterns. These will form the butterfly wings.
Forming The Butterfly Body
Creating the butterfly body is a fun and easy step. You’ll shape pipe cleaners and attach them to the wings. This will form the butterfly’s body. Let’s dive into the steps for making the body.
Shaping Pipe Cleaners
Start with a pipe cleaner. Bend it in half to form a “V” shape. This will be the butterfly’s antennae. Twist the ends of the “V” to secure them. Next, fold the pipe cleaner in half again. This will make the butterfly’s body thicker and more stable.
Once folded, twist the pipe cleaner along its length. This adds detail and texture to the body. Make sure the twisted part is firm. Adjust the antennae to make them even and straight.
| Step | Description |
|---|---|
| 1 | Bend the pipe cleaner in half to form a “V”. |
| 2 | Twist the ends of the “V” to secure them. |
| 3 | Fold in half again for thickness. |
| 4 | Twist along the length for detail. |
Attaching To Wings
Now, it’s time to attach the body to the wings. Place the center of the wings between the pipe cleaner. Make sure the wings are even on both sides. Twist the pipe cleaner around the center of the wings. This will secure the body to the wings.
- Hold the wings in the center.
- Place the pipe cleaner around the wings.
- Twist tightly to secure.
- Adjust the wings and antennae.
Once attached, you can adjust the wings and antennae. Make sure everything looks balanced and neat. Your coffee filter butterfly is now complete with a beautiful body!
Adding Antennae
Adding antennae to your Coffee Filter Butterfly brings it to life. The antennae give it a realistic and charming touch. This step is simple and fun for both kids and adults. Let’s dive into how you can add those cute little antennae.
Cutting Pipe Cleaners
To create the antennae, you will need pipe cleaners. These are easy to cut and shape. Follow these steps:
- Take a pipe cleaner and cut it into two equal pieces.
- Each piece will become one antenna.
- Ensure the pieces are not too long or too short.
Here’s a quick reference table for the length:
| Butterfly Size | Pipe Cleaner Length |
|---|---|
| Small | 2 inches |
| Medium | 3 inches |
| Large | 4 inches |
Securing Antennae
Once you have your pipe cleaners cut, it’s time to attach them:
- Fold each piece in half to form a “V” shape.
- Place the folded end at the top of the butterfly’s head.
- Twist the pipe cleaner around the head to secure it.
- Adjust the ends to look like antennae.
You can curl the ends for a more whimsical look. Use your fingers or a pencil to shape them. Your butterfly now has adorable antennae! Ready to flutter and fly.
Decorating The Butterfly
Decorating your coffee filter butterfly can be a fun activity. It allows you to unleash your creativity and make each butterfly unique. With simple materials, you can transform a plain butterfly into a sparkling masterpiece. Let’s explore some exciting ways to decorate your butterfly.
Adding Glitter
Glitter adds a magical touch to your coffee filter butterfly. Use a brush to apply glue to the edges of the wings. Sprinkle glitter over the glued areas and shake off the excess. You can mix colors or stick to one shade. The glitter will make your butterfly sparkle and shine.
Personalizing Designs
Personalizing your butterfly makes it special. You can draw patterns with markers or paint. Add dots, stripes, or swirls to the wings. Use stickers or small gems for extra decoration. Write your name or a short message on the wings. This makes each butterfly truly one-of-a-kind.
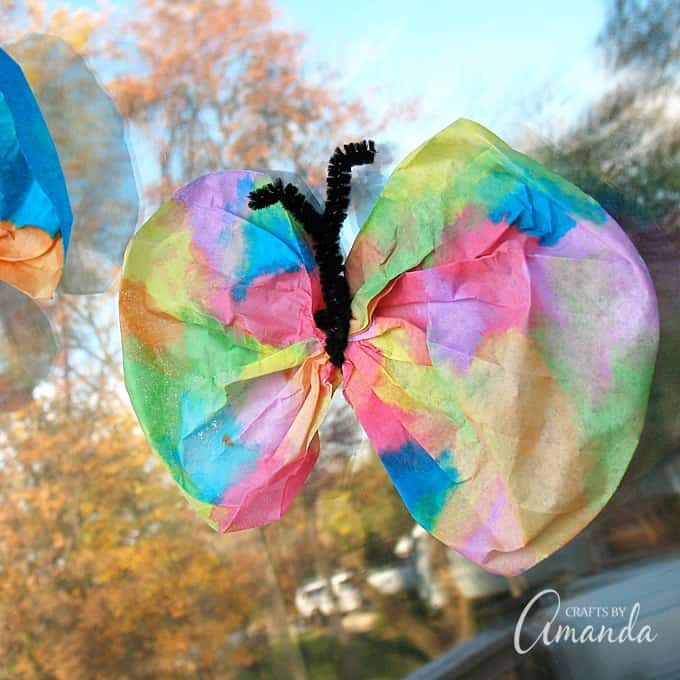
Credit: craftsbyamanda.com
Displaying Your Butterfly
Displaying your coffee filter butterfly is a wonderful way to showcase your creativity. Whether you want to brighten up your home or give it as a gift, there are many ways to make your butterfly stand out. Let’s explore some options for hanging and gifting your beautiful creation.
Hanging Options
- Wall Hooks: Use small hooks to hang your butterfly on the wall. This is a simple and elegant way to display it.
- String and Clips: Attach a string across a wall and use clips to hang your butterflies. This creates a whimsical display that can be easily changed.
- Mobile: Create a mobile using a hoop and string. Hang several butterflies at different lengths for a stunning 3D effect.
- Frames: Place your butterfly in a shadow box frame. This protects it and makes a beautiful piece of art for your wall.
Gift Ideas
| Occasion | Gift Idea |
|---|---|
| Birthday | Attach the butterfly to a birthday card. It adds a personal touch. |
| Mother’s Day | Create a bouquet of coffee filter butterflies. It lasts longer than flowers. |
| Teacher Appreciation | Place the butterfly in a small jar with a thank you note. |
| Friendship | Send a butterfly with a letter. It shows you care. |
There are endless ways to display and gift your coffee filter butterfly. Use your imagination and make each display unique and special. Happy crafting!
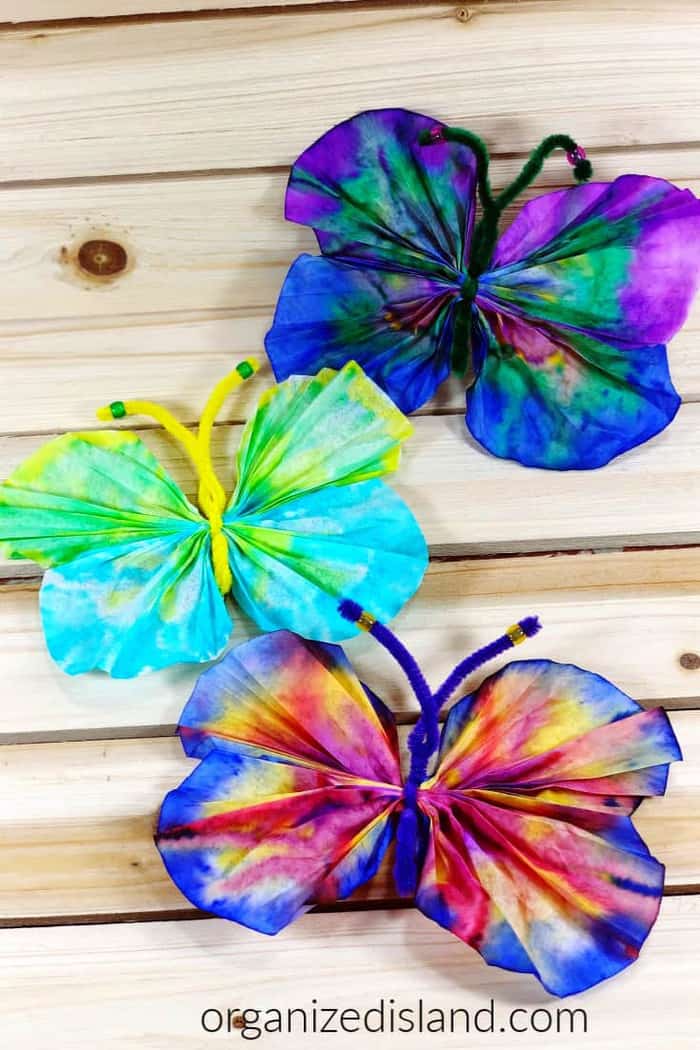
Credit: www.organizedisland.com
Frequently Asked Questions
What Materials Are Needed For Coffee Filter Butterflies?
You will need coffee filters, markers, a spray bottle with water, pipe cleaners, and clothespins to create coffee filter butterflies.
How Do You Color Coffee Filters?
Use markers to color the coffee filters. Then, spray them lightly with water to blend the colors.
How To Shape The Coffee Filter Butterfly?
After drying, scrunch the colored coffee filter in the middle. Secure it with a pipe cleaner or clothespin.
Can Kids Make Coffee Filter Butterflies?
Yes, kids can easily make coffee filter butterflies. This craft is simple, safe, and fun for children.
Conclusion
Creating coffee filter butterflies is fun and easy for everyone. Kids and adults alike can enjoy this simple craft. You only need coffee filters, markers, and pipe cleaners. The process involves coloring, folding, and securing. These butterflies make great decorations or gifts.
This activity also sparks creativity and joy. Try making your own coffee filter butterflies today. Enjoy the process and share the joy with others. Happy crafting!

